Just been to the tech stores and managed to aquire some sheet aluminium and angle bar, rods for making my very own animatronic (im going to last longer than lego) head mech!
This will form part of my animatronic mask and eye/tail mech which i will cover in latex/silicone cover moulded from oil based clay!
Cant wait!
Monday, 10 May 2010
Wednesday, 5 May 2010
mk4 plastruder mod for those with issues??!!?!
javascript:void(0)
Well, actually i think i have pioneered a new mod for the plastruder!
After about a month of unsuccessful prints with my faulty plastruder, i finally took my dremel tool to it and modded it!
The issue i was having was that the idler wheel would let the filament slip sideways off of the edge, sitting nicely in the corner and failing to budge causing a faulty print.
One of the issues that originally caused this was that the 'lid' to my timing pulley which fits onto the plastruder motor came off - it fell off after about 3 days - and that was many months ago before makerbot 100 was shipped!
i needed something to stop the filament sliding off to the side and getting into the corner.
The pulley placed on the end of the motor shaft did stop this, but eventually the force of the filament trying to escape the jaws of the pulley teeth would push the bearing out. i needed a way to fix it so that this force could not push on the outside and free itself.
My idea....
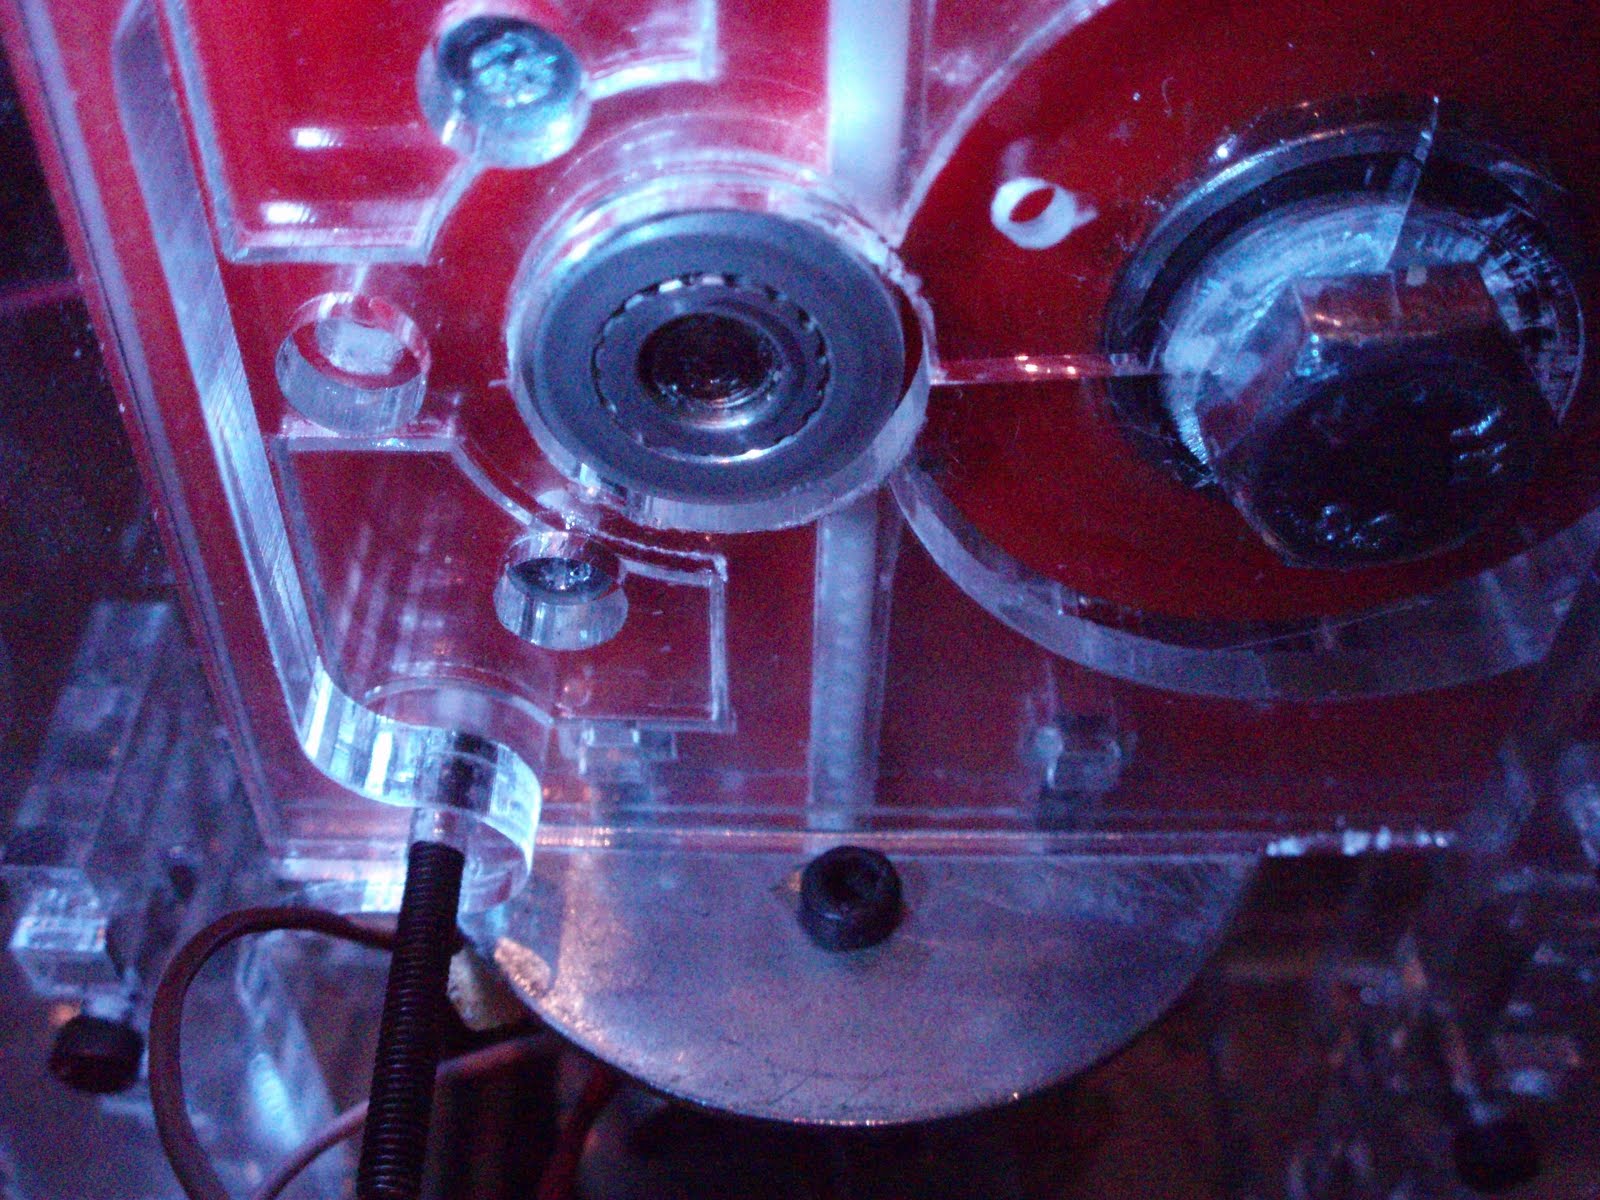
well. as i originally said, my plastruder timing belt lid had come off... my idea was to dremel the rough end of the timing pulley (so the teeth were flush to the end) rotate it round, and instead of having the bearing on last, was to swap it round. The bearing would fit first onto the motor shaft, then the pulley - but rotated so the screw threads would tighten furthest away from the motor. The idea being, as the motor would force the filament down, it could not pus to the side as it would push against the thicker part of the timing pulley - which is fixed...... lest see a picture!

here is the old setup, the end of the timing pulley had come away.

The pulley is placed on first, then the timing pulley - note i have tidied the end of the timing pulley to provide a flush flat edge - see previous photo)

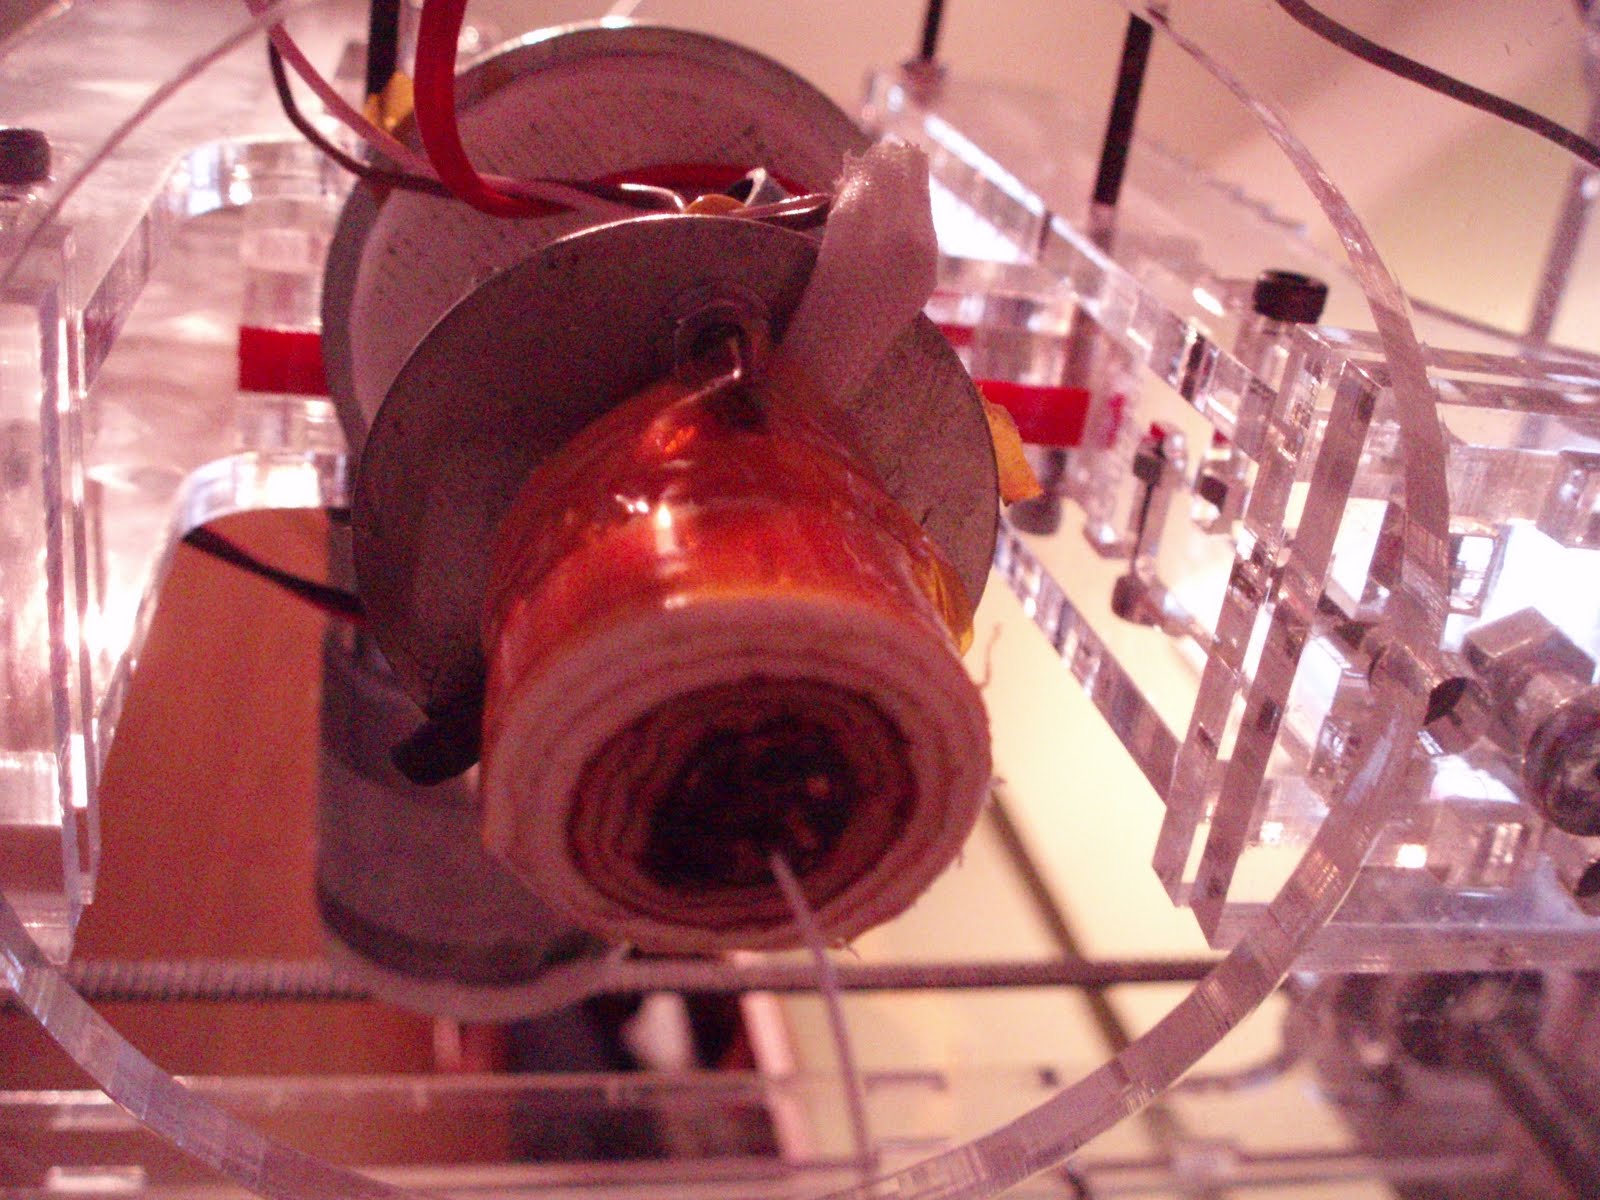
In situe in the plastruder casing, the pulley and bearing fit perfectly and line up with the filament guides.

the filament is fed nicely through to the heater barrel.

hurray! filament is feeding at a great rate - motor set at 255 and no stripping of threads!
Also another mod i have added... A fan connected to the fan connector on the extruder mobo is positioned over the mosfets to keep the cooler - i will make some heatsinks but this seems alright so far!
Sadly they can be turned on/off using the fan control box on the control panel, however using the 'cool' function set in skeinforge (with values set to 0 and fan on at startup) we are able to make the software turn on the fan and leave it on for the entirety of the print and on afterward as well!

I must also add that the temperature of my heater barrel dropped always to 220, which caused some of the failed prints. i only just realised that this is a setting specified in the startup code. i have now modified this to display 240, and to remain hot at the end by modding the end.gcode file!
I have now had a successful continuous feed of abs t full pwm (255) for 10 minutes!
Maybe i can finally get to use my 12Kg coil of Black ABS!
Well, actually i think i have pioneered a new mod for the plastruder!
After about a month of unsuccessful prints with my faulty plastruder, i finally took my dremel tool to it and modded it!
The issue i was having was that the idler wheel would let the filament slip sideways off of the edge, sitting nicely in the corner and failing to budge causing a faulty print.
One of the issues that originally caused this was that the 'lid' to my timing pulley which fits onto the plastruder motor came off - it fell off after about 3 days - and that was many months ago before makerbot 100 was shipped!
i needed something to stop the filament sliding off to the side and getting into the corner.
The pulley placed on the end of the motor shaft did stop this, but eventually the force of the filament trying to escape the jaws of the pulley teeth would push the bearing out. i needed a way to fix it so that this force could not push on the outside and free itself.
My idea....
well. as i originally said, my plastruder timing belt lid had come off... my idea was to dremel the rough end of the timing pulley (so the teeth were flush to the end) rotate it round, and instead of having the bearing on last, was to swap it round. The bearing would fit first onto the motor shaft, then the pulley - but rotated so the screw threads would tighten furthest away from the motor. The idea being, as the motor would force the filament down, it could not pus to the side as it would push against the thicker part of the timing pulley - which is fixed...... lest see a picture!

here is the old setup, the end of the timing pulley had come away.

The pulley is placed on first, then the timing pulley - note i have tidied the end of the timing pulley to provide a flush flat edge - see previous photo)

In situe in the plastruder casing, the pulley and bearing fit perfectly and line up with the filament guides.
the filament is fed nicely through to the heater barrel.
hurray! filament is feeding at a great rate - motor set at 255 and no stripping of threads!
Also another mod i have added... A fan connected to the fan connector on the extruder mobo is positioned over the mosfets to keep the cooler - i will make some heatsinks but this seems alright so far!
Sadly they can be turned on/off using the fan control box on the control panel, however using the 'cool' function set in skeinforge (with values set to 0 and fan on at startup) we are able to make the software turn on the fan and leave it on for the entirety of the print and on afterward as well!

I must also add that the temperature of my heater barrel dropped always to 220, which caused some of the failed prints. i only just realised that this is a setting specified in the startup code. i have now modified this to display 240, and to remain hot at the end by modding the end.gcode file!
I have now had a successful continuous feed of abs t full pwm (255) for 10 minutes!
Maybe i can finally get to use my 12Kg coil of Black ABS!
Wednesday, 28 April 2010
my mini head can see clearly now (with clear perspex shell)
After a few weeks i recieved my new makerbot shell from uni, sadly during constructions, 2 pieces went snap, therefore i have an almost clear makerbot shell... - pics in my flickr pool!
this evening, i finally managed to get the motors soldered into place and test the thing out. The lights from the electronics illuminates the makerbot industries engraving rather nicely!
also downloaded the new ReplicatorG and tested out the new preference settings - my heated build base was not getting to the correct temp as i was using a 1mm thermistor and the 3mm settings - the extruder had a 3mm thermistor.
so i finally tested it extruding, and wow... heats up, looks very sweet and .... ah... sadly the filament stripped. need to move the idler wheel closer!
other than that, i bought a few more 5gram servos to make a small miniture animatronic head. Im designing it using sketchpad and consists of a jaw, square skull with curved pieces, eyes that move left right uop and down, and eventually eye lids - all printable on the makerbot. here is for good testing tomorrow!
over and out tonight.
Nat
Friday, 16 April 2010
Rats... plastic tears and wooden saviours
Last night I decided to take apart my makerbot and put it in its new shell properly.
Something’s I didn’t not take into consideration was the extra holes I made in the printer chamber base to attach the electronics, nor the fact I soldered the wires for the motor.
After cutting them, I continued to piece together the shell, sadly it didn’t quite fit resulting in the fragile plastic shell snapping in more than 3 places... as well as having the tabs snap off about 3 places.
I’m not enjoying it at all... so now I’m left with a makerbot shell snapped, a wooden shell, and a makerbots bits box that need rebuilding... fun... not.
The conclusion of the day - make the tabs bigger than the material so that it will slot in easily, or failing that...
DONT MAKE IT OUT OF PLASTIC! Wood is the way to go.
Sunday, 11 April 2010
Black as night, Evil as Darthvader!
Afternoon on this glorious sunny day!
i thought i would start printing with my black ABS to see whgat it is like. and results are good!
Unfortunatly i have had a few flossing issues - but i will sort that out later.
The first thing i needed to do was to feed through the black abs. This would be odd as i have been using white ABS so it was interesting to see a fhite filament turn grey as it mixed with the black ABS.

The next thing to do ws to use my Darf Vader i had previously Skeinforged... sadly i had deleted it when i was sorting out my hard drive, thereofre i opened skeinforge and redid it. Sadly skeinforge seems to get stuck and freeze half way through the process, therefore i tried my already skeinforged piece - the clean whistle.
First results seem to be good except the raft came off the build base, therefore i had to abbort, but it looks good so far!

It was a good opportunity to see the 'pea' of the whistle up close...

Anyways i need to close down now as im going to Portsmouth for my dentist appointment tomorrow! NHS for ya! cant loose an NHS dentist! (Im currently in plymouth!)
Friday, 9 April 2010
Inow you see it... now you dont

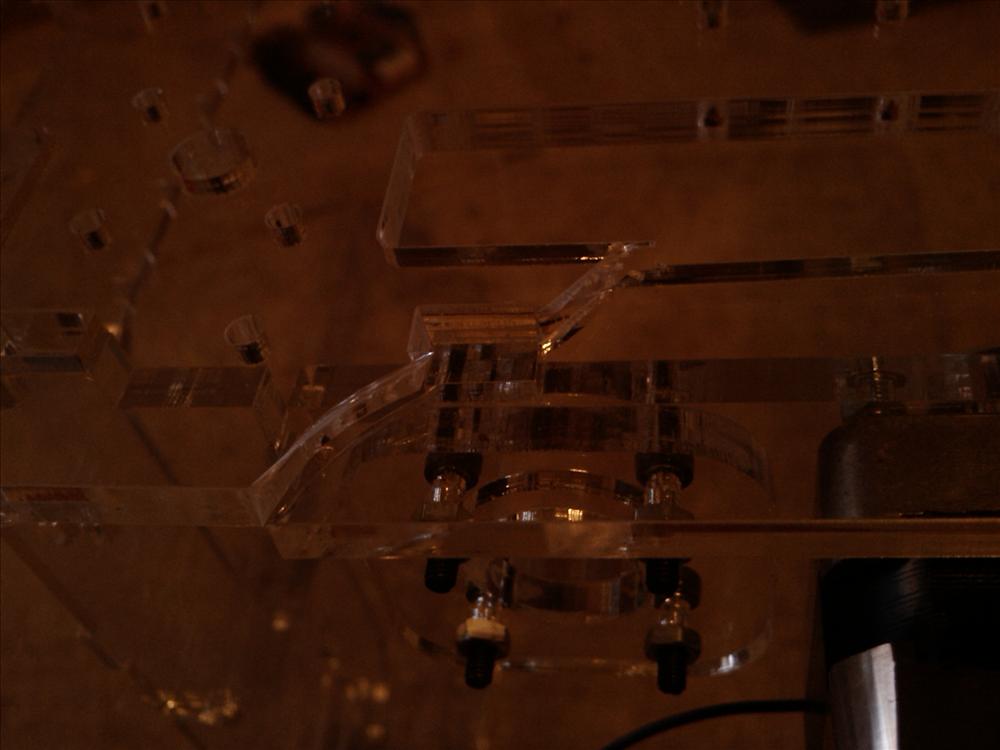
This is my new makerbot shell from uni - as part of there makerbot manufacturing they cut me a new clear shell and plastic x and y stages aswell :) looks very sweet!
Thursday, 8 April 2010
New toys

Today i recieved good presies
A nice 12lb coil of plastic filament in evil black
A new free makerbot shell from the spare materials from the University of Plymouth makerbot making.
I will soon transfer mu parts from my wooden case to the acrylic one just after i have got my job (interview tomorrow) and tidied everything up.
I will keep the pare bits of wood however as the acrylic may snap - a bit has already broken a tab :(
The arrival of the plastic filament will be tested tomorrow when i start to extrude some - i already have Darthvader awaiting!
Again! Thank you!
Subscribe to:
Posts (Atom)
